Tuesday, August 13, 2013

Perfect Corn on the Cob in 5 Minutes

Perfectly cooked corn on the cob is just a few minutes away!


Here's how to make it. First, shuck some fresh sweet corn.
As you can see by the photo, removing all the silks is not my strong point. Now put the corn in a microwave safe dish or plate. I usually cut the cobs in half or sometimes in thirds. Cutting it into manageable pieces works especially well for buffets or gatherings with a wide variety of food. This way everyone can have a little bit.  It also stretches the corn to feed a crowd and makes it easier to handle.


Cover the corn tightly with plastic. This is important, because you are essentially steaming the corn.
 

Then put it into the microwave for 5 minutes.

Let the corn sit for a couple of minutes while you prep the butter.  Add butter, a pinch of salt and a pinch of sugar into a microwave safe bowl or measuring cup.  Now, if you have fresh corn just a few hours out of the field, you might not need the sugar. Otherwise, it gives off-season corn a much-needed boost. Give it about 40 to 60 seconds in the microwave.
 
Carefully take the plastic off the corn. Be careful, it's HOT! You don't want a steam burn. Give the buttery, salty mixture a stir.  Now you either pour it over or brush it onto the corn. I like to toss it all together in a big bowl. This way each individual cob is buttery and delicious.
 
 
Enjoy!


Wednesday, July 31, 2013

Making a Fritatta - super quick and inexpensive supper.

I made a frittata for supper. And I used the Vine app to record it.  Here's how it's done, just click on image to play:


Then there's the cooking method:

What? You want instructions? Why weren't you paying attention? Okay then, for those of you not paying attention.

4 eggs beaten with 3 tablespoons milk or cream plus salt and pepper and a pinch of garlic powder
1 Yukon gold potato diced  small and microwaved in a container covered in plastic for 4 mins.
1 tomato diced, then salt and peppered and liquid squeezed out.
About 1/4 of a small onion diced.
1 tsp jalapeno salsa or 3 chopped pickled jalapenos. (optional)
3 to 4 sliced of thick bacon, diced.
1 tablespoon of butter
Chopped herbs of your choice
Salt and Pepper.
Cheese or cheeses of your choice. This is the leftover bag remnants of  shredded Swiss, cheddar and Italian blend.

Preheat oven to 400 degrees
In oven-safe skillet melt butter and add bacon.
When bacon is crispy, add onions. Cook until they are translucent.
Toss in microwaved potatoes. Stir constantly until potatoes just start to brown.
Add tomatoes.  Stir until they just start to wilt.  Add jalapenos. Give a few stirs.
Add chopped herbs to egg mixture and whisk.
Turn off heat and pour egg mixture over ingredients in pan.
Place pan in oven and cook until it puffs up and starts to brown - 10 to 15 minutes.

Enjoy.

Sunday, April 28, 2013

Liver With Caramelized Onions And Red Wine Sauce - I Promise It's Good


If you like liver and onions, you're going to love this. If you've been subjected to bad liver and onions, I might be able to change your mind about them.

Interesting note: during our first conversation my husband and I discovered that we both love Star Trek,
 
We were also both big fans of the 1971 cartoon The Funky Phantom, about a Revolutionary War Ghost who solved mysteries with a group of teens and their cat.
 
And it turns out we both love liver and onions. I preferred mine with a side of spinach, which Tim turned his nose up at, until I made fresh spinach. Now we're on the same page. It has taken me a few years to learn how to properly cook liver. Many people turn it to the consistency of jerky or shoe leather and often it is not well-seasoned. We're going to fix all that.
 
I've used calves liver here, veal liver is tenderer, but also more expensive. You may only be able to find liver frozen, so thaw it out and then season with salt and pepper. It's a very important step. Give the seasoning awhile to flavor the raw meat, overnight is best.
 
I am willing to admit that raw liver is the most unattractive thing on the planet. Here it is after I've patted it dry and it still ain't pretty. Do pat it dry, though. We want to get a nice sear on the liver.
 
I
 

If you have large pieces of liver, cut them in two. We want nice-sized pieces that fit easily into the pan and onto the plate. Try to fine thinly sliced liver, otherwise it will either be over-cooked on the outside and raw (blech) on the inside.


Mix flour, salt and pepper together in a dish.
 
 
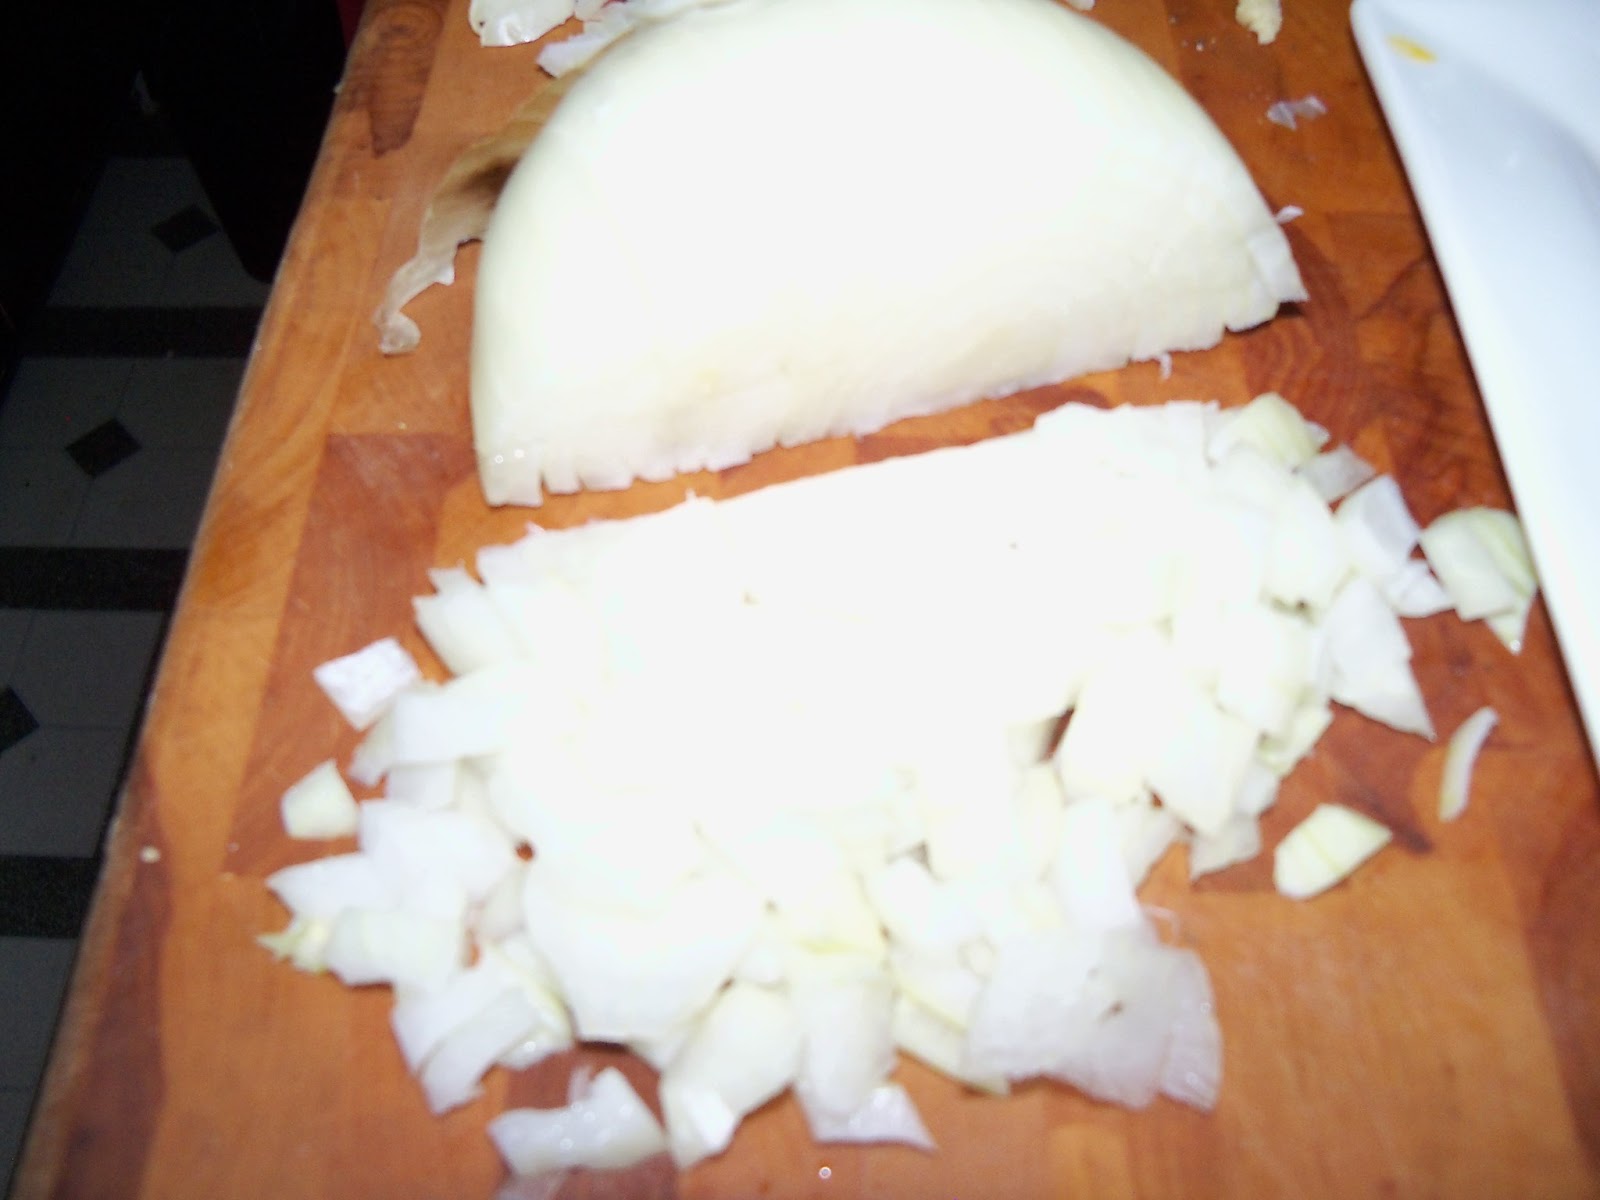
Slice a medium sweet onion thinly and mince a clove of garlic.


In a large frying pan (I prefer a non-Teflon coated one for this purpose) add butter and olive oil and turn on medium heat.
]
Now carefully flour the liver. It's delicate and you don't want to tear the meat. Stay strong, the raw liver shots are all done now.

By the time you finish, your butter and oil should be shimmering.


Using tongs, carefully add the liver. You should hear a sizzle.


Add as many pieces of liver as you can manage without crowding the pan. If it's too crowded, you won't get a nice sear. The browning is important. Remember, this is beef you're dealing with.


After a minute or two, your liver should be nicely brown. Flip it and give it a minute or two on the other side.  When it's done, remove it to a foil tented plate and cook the rest of the liver. After that's cooked, allow the meat to rest. This is very important. The heat contracts the meat and rest gives the fibers time to loosen up and become tender again.


Now your pan has bits of browned meat and flour, the base of your delicious sauce. Add some butter and then your onions.


To those onions, add salt and a sprinkle of dried thyme.


Sautee until the onions become soft and then add the minced garlic.


Give the garlic about 30 seconds and then add red wine to deglaze the pan. If you don't care for wine, you can skip straight to the veal or beef broth.


Give it a good stir, getting all the brown bits of flour and meat off the bottom of the pan. This is what will thicken your sauce.


Now it's time to add the broth. I love Kitchen Basics veal broth, but you could also use beef broth.


Add about a cup or cup and half, based on how much liver you have. This sauce is going to reduce by more than half before you serve. Do not add salt now. It will cook down and become too salty. If you've chosen to skip the wine, add about half a teaspoon of sugar.
 
 
Eventually it will reduce down to a lovely glaze. Then it's time to add some butter. This will enrich the sauce and make it glossy. This is also time to salt and pepper to taste. TASTE it!
 
 
Arrange the liver either on a warmed platter or individual plate and spoon the sauce on top.
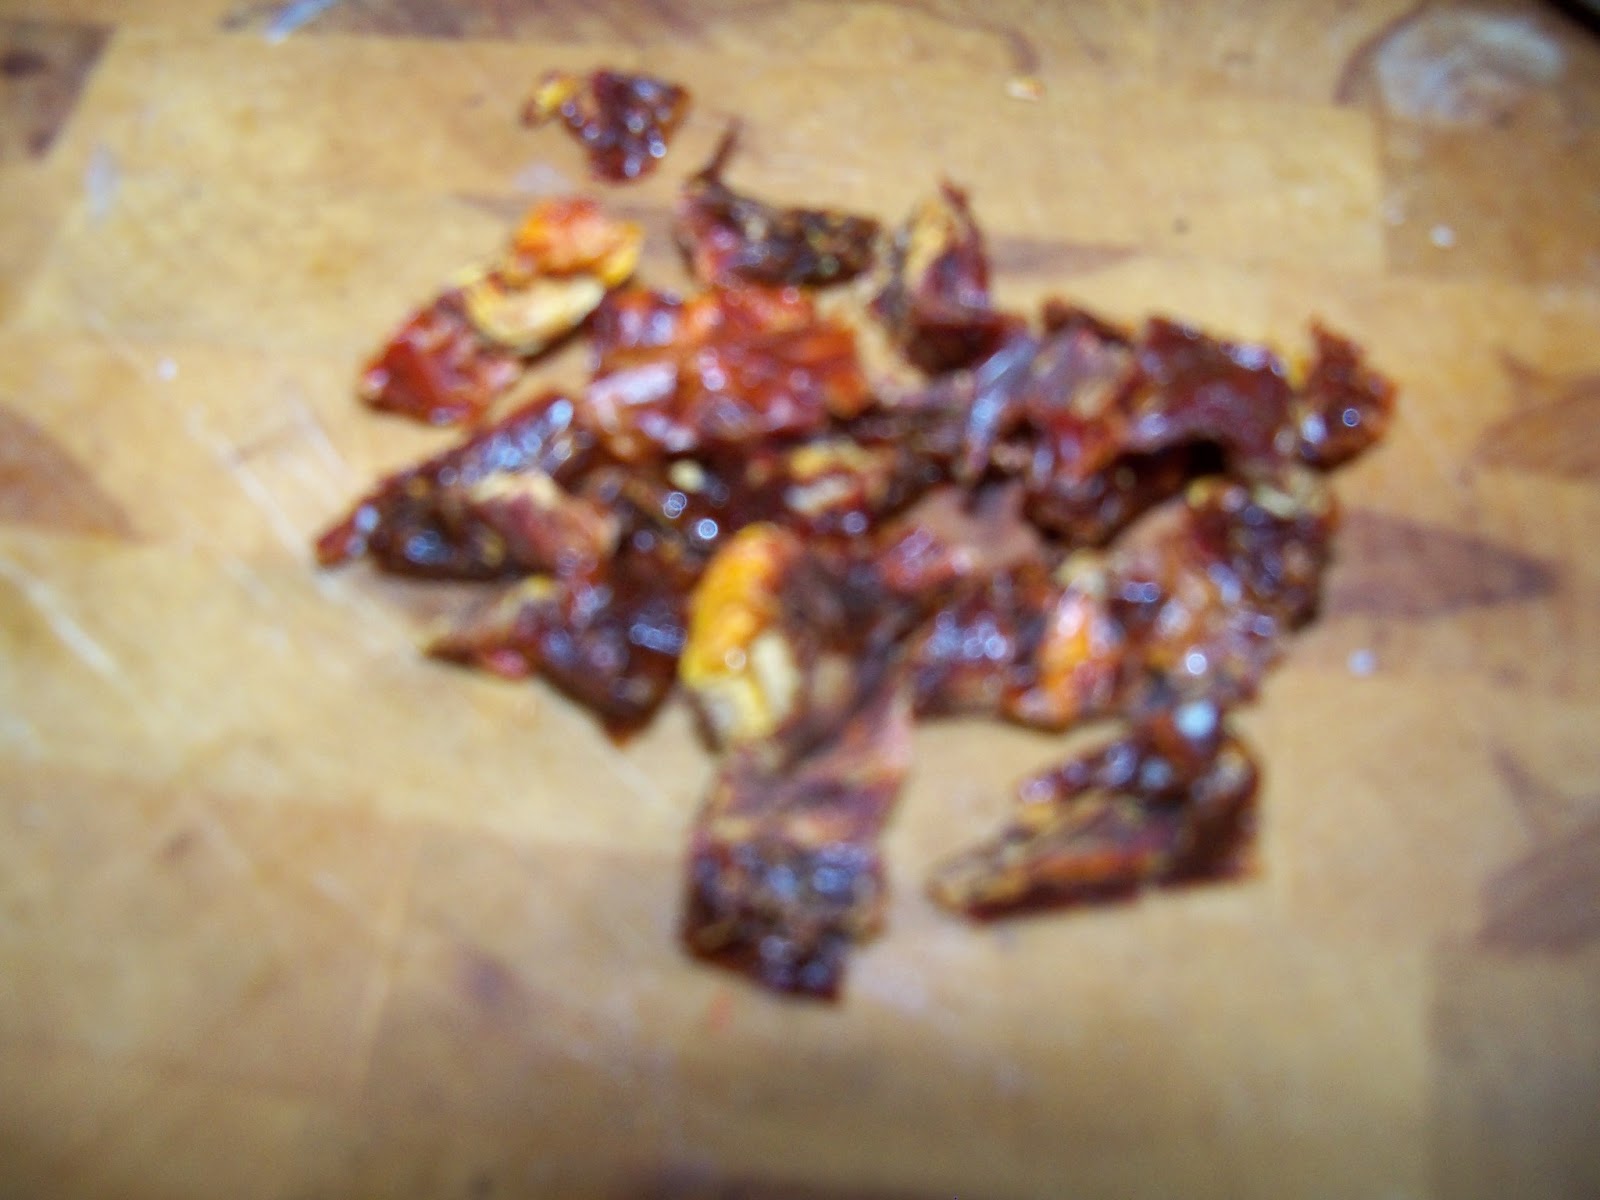
I've served it here with my favorite, spinach with oven roasted tomatoes. This would also be delicious with mashed potatoes.
 
 
Enjoy!


Monday, March 18, 2013

Swiss Steak Reconsidered


My husband told me didn't like Swiss Steak. I explained that it was because he'd never had my Swiss Steak. Me, I love the stuff. Well, I love it when it's made right.  If you don't like it, it could be because you've had the kind that's basically a tough hamburger patty with some tomato soup on top. This is not that recipe.

This is beef in a rich, tomatoey, garlicky sauce. This beef practically melts in your mouth. You could ask my husband, but his mouth his is full of Swiss steak.

The ingredients are basic:

A chuck roast, half a large onion, thyme, tomato paste, a can of tomatoes, sun dried tomatoes, three gloves of garlic, two tablespoons of flour, salt, pepper and chicken broth. I forgot to take a picture of the chicken broth. I always forget to take a picture of something. To start, preheat the oven to 350 degrees.


Start with a  3 to 4 pound chuck roast or blade roast. Slice it up into equal portions about two inches thick.


Generously salt and pepper. Heat about a tablespoon of oil in a Dutch oven. I use a large shallow pot myself to fit all of the meat in at once.  If you use a smaller pot, you'll probably need to brown the meat in batches. Let the pot get hot and add the meat.

 Get the meat brown on both sides and remove to a plate.


 Add maybe a teaspoon more of oil to the hot pan with all the meat drippings and put in a small diced onion or half a large one.

 Let them cook until softened and just starting to brown. Then measure out 2 tablespoons of tomato paste (I love the stuff in the tube), 1/2 tsp of dried thyme and 3 cloves of minced garlic.


 Add to the tomatoes and stir for about thirty seconds.


Then add 2 tablespoons of flour and stir for another 30 to 40 seconds.

 Now add a 14 ounce can of diced tomatoes. I love the fire-roasted kind.

Then pour in a cup and a half of chicken broth.


Stir, scraping up all of the delicious brown bits from the pan.


Add the beef back to the pot.


Cover and put in the 300 degree oven for 2 1/2 to 3 hours. You don't have to do anything but allow it to cook.  I didn't forget to put in the sun-dried tomatoes. They go in later. After 2 1/2 to 3 hours take out of the oven and remove the meat to plate and cover with foil.


If there's quite a bit of fat on top, skim as much of it off as you can. Now chop up a tablespoon of sun dried tomatoes. That is an out-of-focus picture of chopped sun dried tomatoes.


Add to the pot along with salt and pepper.


 Cook for a few more minutes.  Place the meat on a plate and spoon over the rich tomato gravy.

 
This is excellent with mashed potatoes. Enjoy!

Wednesday, November 21, 2012

5 ingredient, 15 minute Cranberry Cherry Sauce

 
I have nothing against the stuff in the can. It tastes fine. I love its little ridges and the plopping sound it makes when it is released from the can onto its decorative plate. But I also love this sweet/tart homemade version with dried cherries. It only has 5 ingredients and takes very little time and effort to make. You start with 12 ounces of fresh cranberries, 4 ounces of dried cherries, 3/4 of a cup of brown sugar, 1 cup of water and a little bit of freshly ground plack pepper.
 
 
Bring the water and the sugar to a boil in a saucepan.


Dump in the cranberries and the cherries and a good pinch of pepper. This is rocket science, people. Soon you will hear a popping noise, that will remind you very much of a bowl of Rice Krispies. Those are your cranberries popping. That's a good thing.


They are releasing lots of natural pectin (that's what makes jellies jell) and wonderful flavor. Keep stirring, because it is going to start to thicken up fast.


Then just take it off the heat and allow it to cool and you have the best cranberry sauce. You can make it a week ahead and it lasts forever. It's not only great with your Turkey, but fantastic on sandwiches.


How pretty is that to take to Grandma's house?

Quick Thanksgiving Day tip


If you have friends or family with allergies coming to Thanksgiving, make a little placecard that lets people know if something contains nuts or seafood or anything that might make them ill. You could even be kind to vegetarians. There are templates for palcecards available free many places on line. And it might save you the trouble of having to jab someone with an epi pen or call an ambulance. I have a friend who is quite allergic to nuts and I give all the guests a quiz about ingredients in dishes they've brought. If there are nuts, they get to sit in the nut area of the buffet with a decorative little warning.