Saturday, January 31, 2015

Steampunk Reindeer


I've posted before about my Steampunk centerpiece featuring a Steampumpkin and Steampunk Easter eggs depending on the season.
 
This year I finally made Christmas accessories.

I thought long and hard about what theme to take and considered robot Santa (too creepy for me) or a geared-up Christmas tree (no point.) 

I finally became inspired while watching a beautifully awful movie called Santa Claus at a Rifftrax event. Mechanized reindeer it would be!

I started by purchasing glitter reindeer at Target and picking up some gears and keys in the scrapbook department at Michael's. I've found these same gears at Hobby Lobby and Joanne Fabrics as well. Of course, there was also a tube of my old pal Super Glue.


You have your choice of gears and fly wheels in various sizes.

The keys and keyholes are sold separately.


I found the perfect spot for the key to wind these babies up and glued the key hole and then the key.
Then I started putting gears and wheels where I imagined they would go to make this thing fly.

Here's my first finished reindeer. I did the second dear with similar, but not exactly matching gears and keys.
Here they are flanking the steampunk centerpiece on my dining room table.

Can you tell by the rumpled runner that the cat is really interested in the reindeer?

Now onward to Valentine's Day and the 4th of July . Ideas anyone?

Monday, December 01, 2014

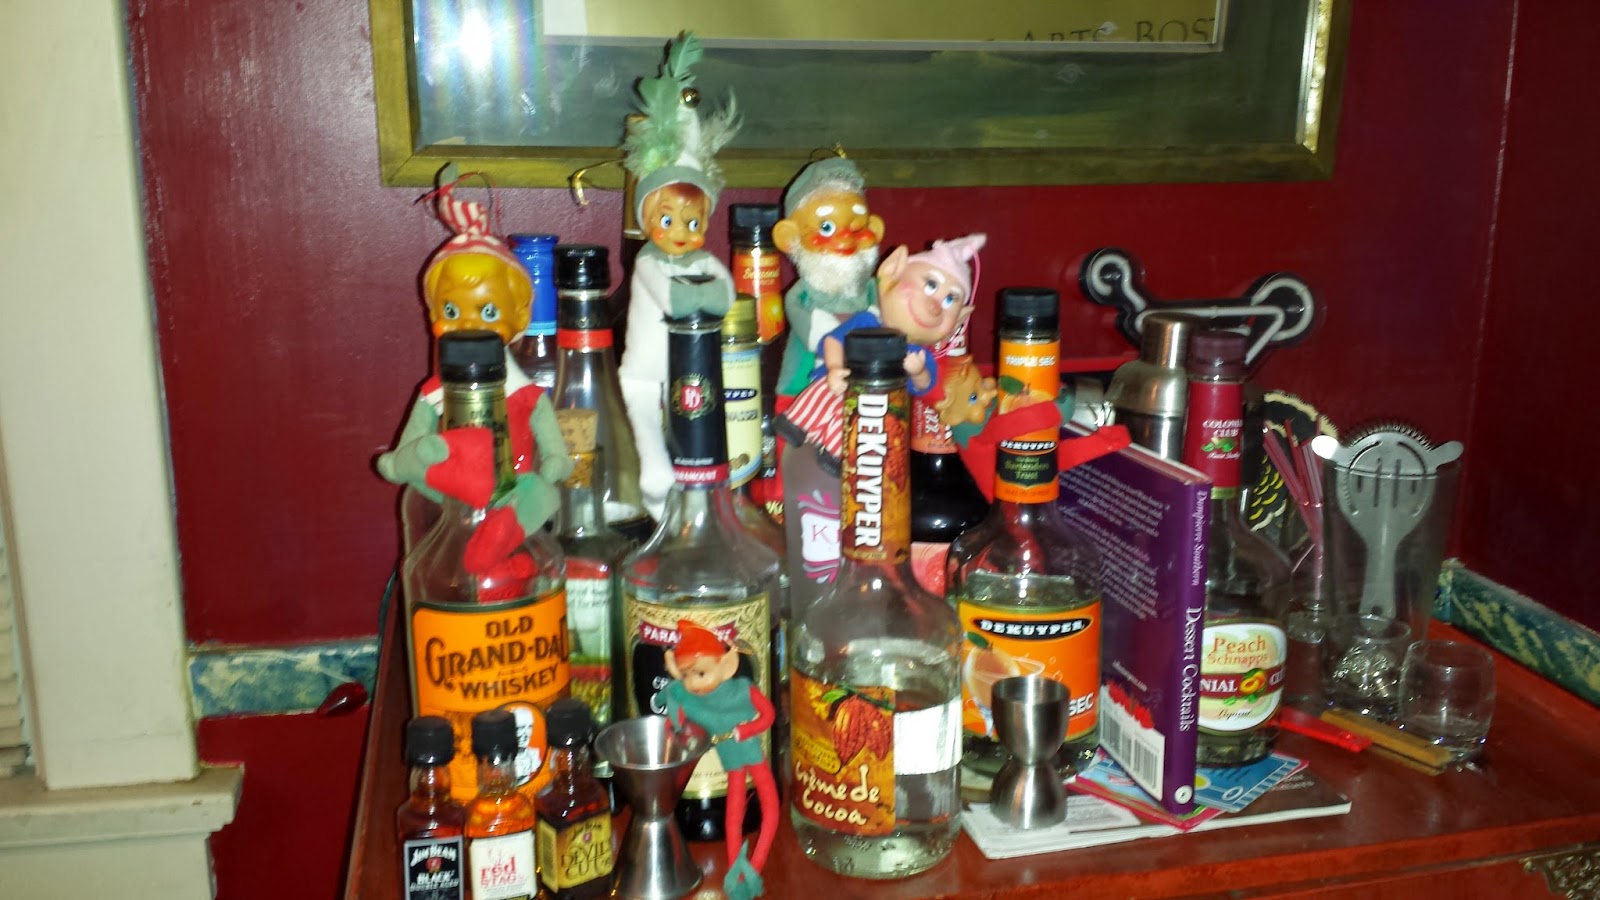
Elves Gone Wild - 2013


So last year my elves got off the shelf and went just a little wild.
They seemed to forget who that booze in the cabinet belongs to.
They helped themselves to my credit card.
They were a little too fond of fire.

And perhaps a little bit killy


They got fresh with Angel Barbie.

I blame the alcohol.

Stealing my car keys was really the last straw.


I don't care how bad your craving for San Marcos tacos happens to be.

At least they didn't buy liquor.

I'd like to point out that once they got the good stuff home.

They didn't share any of it with me.
But they didn't mind sharing my Christmas cookies.

After a whole year spent in a plastic storage container. I'm curious as to what they're up to this year.

Saturday, November 29, 2014

The Turkey - Frying Up Our Thanksgiving Tradition


It started back in the 1990s. I saw Martha Stewart fry up a turkey for the first time on her television show, and as I was wont to do back in my early homemaking days, I immediately decided we had to do this at home. Turkey fryers were not easy to find back in those days, you actually had to go to a sporting goods store. Finding enough peanut oil to fry it in involved a trip to a restaurant supply store. But once we tasted the delicious bird, we were hooked. First of all, fried turkey means no need to get up a 7 a.m. to start a bird. It takes only about 3 and half minutes per pound to cook. That's right, turkey in under an hour!  The color is amazing  and the crisp skin in delectable, while the meat is still tender and juicy. Not to mention that my dear husband likes to take charge of the outdoor cooking! That leaves me with a free oven and time to prepare  the  side dishes.
I've spent a long time perfecting this technique and I'm finally willing to share our secrets.

Equipment-wise, you'll need a turkey fryer. Fortunately, they are everywhere these days. This burner is fired by a propane tank. You must use it outside and at a safe distance from any structures.

The kits usually come with the needed pot.

I like to use a fresh turkey. If you use a frozen one, you'll need to get it thawed at least three days before Thanksgiving. For the fryer, you'll need a turkey of 15 lbs or less. If you need something bigger, fry two smaller turkeys.  You may want to do a fill test for oil before prepping your bird. Put the turkey in the pot and fill with water until it rises to the fill line of the pot or covers  the bird by around 1/4 of an inch. Then take the turkey out and you'll need exactly as much oil as you have water. You can mark that with chalk if your pot doesn't have markings. Make sure you pat the bird dry before you get ready to prep it.

Remove any giblet surprises inside the bird and if there's a  pop-up thermometer, ditch it.  for my bird I do a dry brine. Start with about 1/4 cup of kosher salt.

Rub the turkey inside and out generously with salt inside and out, two to three days before you plan to cook. Then stick it in the fridge in a pan or sheet tray.

The night before cooking, the turkey needs a spice rub. I use the very same one that Martha Stewart first showed my back in the day.


  • 25 medium dried bay leaves
  • 3 1/4 teaspoons dried thyme
  • 3 1/4 teaspoons dried oregano
  • 1 1/2 teaspoons whole black peppercorns
  • 3 tablespoons Konriko brand, or other hot Creole seasoning
  • 2 teaspoons garlic powder
I put all of this together in a spice grinder and make a powder. (My spice grinder in a coffee grinder I got on discount and only use for spices.) You could also use a food processor for a less powdery rub.  You can also pretty much use any rub you like, though I'd avoid one with sugar in it, the sugar might burn in the oil. Rub the turkey inside and out with the spice rub and then return to the refrigerator.
 
    The day you plan to fry, take that turkey out and let it get close to room temperature before frying. 
    When it's time to fry the turkey, add the peanut oil to the pot and then turn on the fire. Make sure to use peanut oil. It has a higher smoking point that other oils. This year for a twist, we added around 1/2 cup of bacon fat to the peanut oil and it was absolutely delicious.
    Heat the oil to 350 degrees. It takes 30 to 45 minutes depending on the outside temperature when you fry. Someone should stay with the turkey fryer all the time while the oil heats.
    When you truss up the bird, you'll need to use metal picture wire.  The wire also gives you a handle for lowering the turkey into the oil.
 
Once the oil is to temperature, carefully lower the turkey into the oil. My fryer came with a hook that aids in taking the turkey in and out of the oil.
 
Put lid on and cook. You may need to adjust the burner to keep the oil at 350 degrees. Cook for about 3 and a half minutes per pound.


The turkey should have an internal temperature of 160 when it is done.
 

 Now comes an important key to a great turkey. Let it rest for as long as you cooked it. It's an important step. You should also let an oven-cooked turkey rest for at least half an hour to 45 minutes before carving. Heat contracts the meat. Resting relaxes it and allows it to become tender and juicy.
 
You'll find this bird to be juicy and delicious with the most delectable skin  you've ever experienced.


Sunday, November 23, 2014

My Best Sage Dressing


I've eaten sage bread stuffing at Thanksgiving all of my life. At the Thanksgiving dinners my Mom made for me and her when I was growing up and for the Thanksgiving dinners I made for my roommate when we were in college.

I never actually had a recipe, I just kept playing around and adding a few new techniques. One major revelation came from Alton Brown  - think about what something is before you make it. This is bread pudding. I also picked up a great secret ingredient form the folks at Cook's Illustrated - soy sauce! 

Don't knock until you've tried it, okay. I promised a friend that I would blog this recipe a year or two ago - but I did not. Because I suck. So as I prepped ahead of time for this year, I took photos. I will add a nice picture of this year's finished product when I finally put it in the oven.

You'll need:

2 loaves of sandwich bread
2 tsp dried sage
2 tsp dried thyme
1 tablespoon soy sauce
1 stick unsalted butter
1 32 ounce container chicken broth
4 celery stalks
1 large onion
3 cloves of garlic
salt
pepper

Let's start with bread. I have two big loaves of the cheapest white sandwich bread on planet earth. You could use good bread or stuffing cubes. But pulling apart and toasting the bread for stuffing is an indelible memory from my childhood, so I do it this way.   I also have a big-ass bowl. Everyone needs a BAB. If you don't have a BAB, you'll need multiple small-ass bowls.

Tear it into pieces.  Enough to fill a BAB.

The bread will need to be toasted in a 350 degree oven. I use two big-ass sheet pans (half-sheets). You can use multiple smaller sheets or line the oven racks with foil. Try to keep the bread to one layer. Toast it until it begins to turn golden brown then remove.


Let's check out the other ingredients. One large onion, three or four stalks of celery, three cloves of garlic, butter, ground sage and thyme, soy sauce and four eggs. You'll also need half and half and a 32 ounce package of chicken broth.

Dice the celery and onions,

Melt half a stick of butter in a large pan and add 2 teaspoons each of ground sage and thyme. The spices will "bloom" in the butter and add an extra layer of flavor.

Add the celery and onions along with a sprinkle of salt and cook over medium until onions begin to turn golden brown. Then add the minced garlic.

After about a minute, add the chicken broth and a tablespoon of soy sauce. Don't leave out the soy sauce. It makes a world of difference to the flavor.
Let this simmer over medium for about 10 to 15 minutes.  You'll probably want to let it cool a bit.  While it cools, put the four eggs in a bowl or cup. As I said, this is a bread pudding. Now it's time to make the custard.

Add some chopped fresh parsley if you have it on hand. If you do not have fresh parsley, don't bother to add dried. We want the fresh pop of the parsley and dried doesn't have that.

Add 12 ounces of half and half (a cup and a half) and whisk it all together.

Now get out the BAB. Put all of the bread in there.

Dump in all the cooked vegetables.

Give it a good stir with a spoon, or better yet mush with your hands and then salt and pepper to taste before you add the custard mixture.

Use your hands (or a spoon, if you must) to mush it all together. Now, butter a 13 x 9 or thereabouts casserole dish.

Dump the mixture in there and press it down to make it fit. It will.

If you are making ahead, you can cover it with plastic wrap and stash it in the fridge. Otherwise, you'll want to preheat a 325 degree oven and melt what's left of that stick of butter. Drizzle it on top and bake for between 45 minutes to an hour until the top is a beautiful golden brown. 

If you are making ahead, follow the same procedure after you let the casserole get to room temperature.

I'll post some baking pictures after Thanksgiving.