Sunday, July 29, 2012

Great Idea - tiles as serving pieces


I saw a bit on HGTV about using slate tiles to make a cheese board. It's handy because you can write on the slate with chalk. I couldn't find a slate tile at the store, but the nice lady at Lowe's did help me find these slate-colored ceramic tiles. They are around 18" by 18" and cost about $4 each. And the chalk shows up nicely. This is a British cheese board for a brit-themed party. Three cheeses, pears, apples and some chutney. I wrote the names of the cheeses in my gnarly handwriting. Still, pretty cute.


For the 4th of July, I did a Chicago Dog bar with all the condiments. People really enjoyed building the dogs. I included instructions on how to put it all together.


I slipped them into plastic notebook sleeves so I could use them again.


They also make great serving pieces for these appetizers. It looks a little different and I like how you can write the name of the item on the tile.


They are also heat proof, so I can serve this bubbling soup right out of the pot.

I really like the idea. I wish I had nice handwriting.


I like them so well, I think I might get a couple more so that I can cover the entire buffet for special occasions. I think it would be nice to have the whole buffet be heat safe for Thanksgiving.

Salmon crisps with capers - quick & easy appetizer


These are salmon crisps with sour cream & capers. Each one is a bite of salty goodness. You can make fifty of them in approximately fifteen minutes and they stretch a small bag of potato chips into enough for a few dozen people.


You'll need a bag of good kettle chips. I used plain, but salt & pepper would probably be good as well.


Also some sour cream or creme fraiche if you prefer, but sour cream works wonderfully.


A little it of smoke salmon. This is the inexpensive kind in a chunk studded with peppercorns. Use what you like best.

And capers. Capers are the Cadillacs of things that come in brine. They make me so excited I can't focus a camera.


Lay out your potato chips. Add a tiny dollop of sour cream. Then a little bitty piece of salmon and top with a caper. This takes no time at all. I would not do it too far ahead of serving or the chips will get soggy.


Serve them with BLT Bites!

It's all part of my obsession with making each chip into a separate serving. See my beat-the-clock party.

BLT Bites - with bacon bowls! Need I say more?


A BLT bite is a delicous appetizer sized bit of bacon, lettuce & tomato with a twist. The lettuce and tomato are served in a bacon bowl. How do you make these tiny but perfect little salads? You start with a bacon bowl. Here's how that goes:


Preheat your oven to 450 degrees. Then start with two upside down muffin tins on a sheetpan. The older, darker and grodier the muffin tins are, the better they look in photographs.


Cover the tins completely with foil. Mold it very carefully, so the government won't be able to monitor the pan's thoughts.


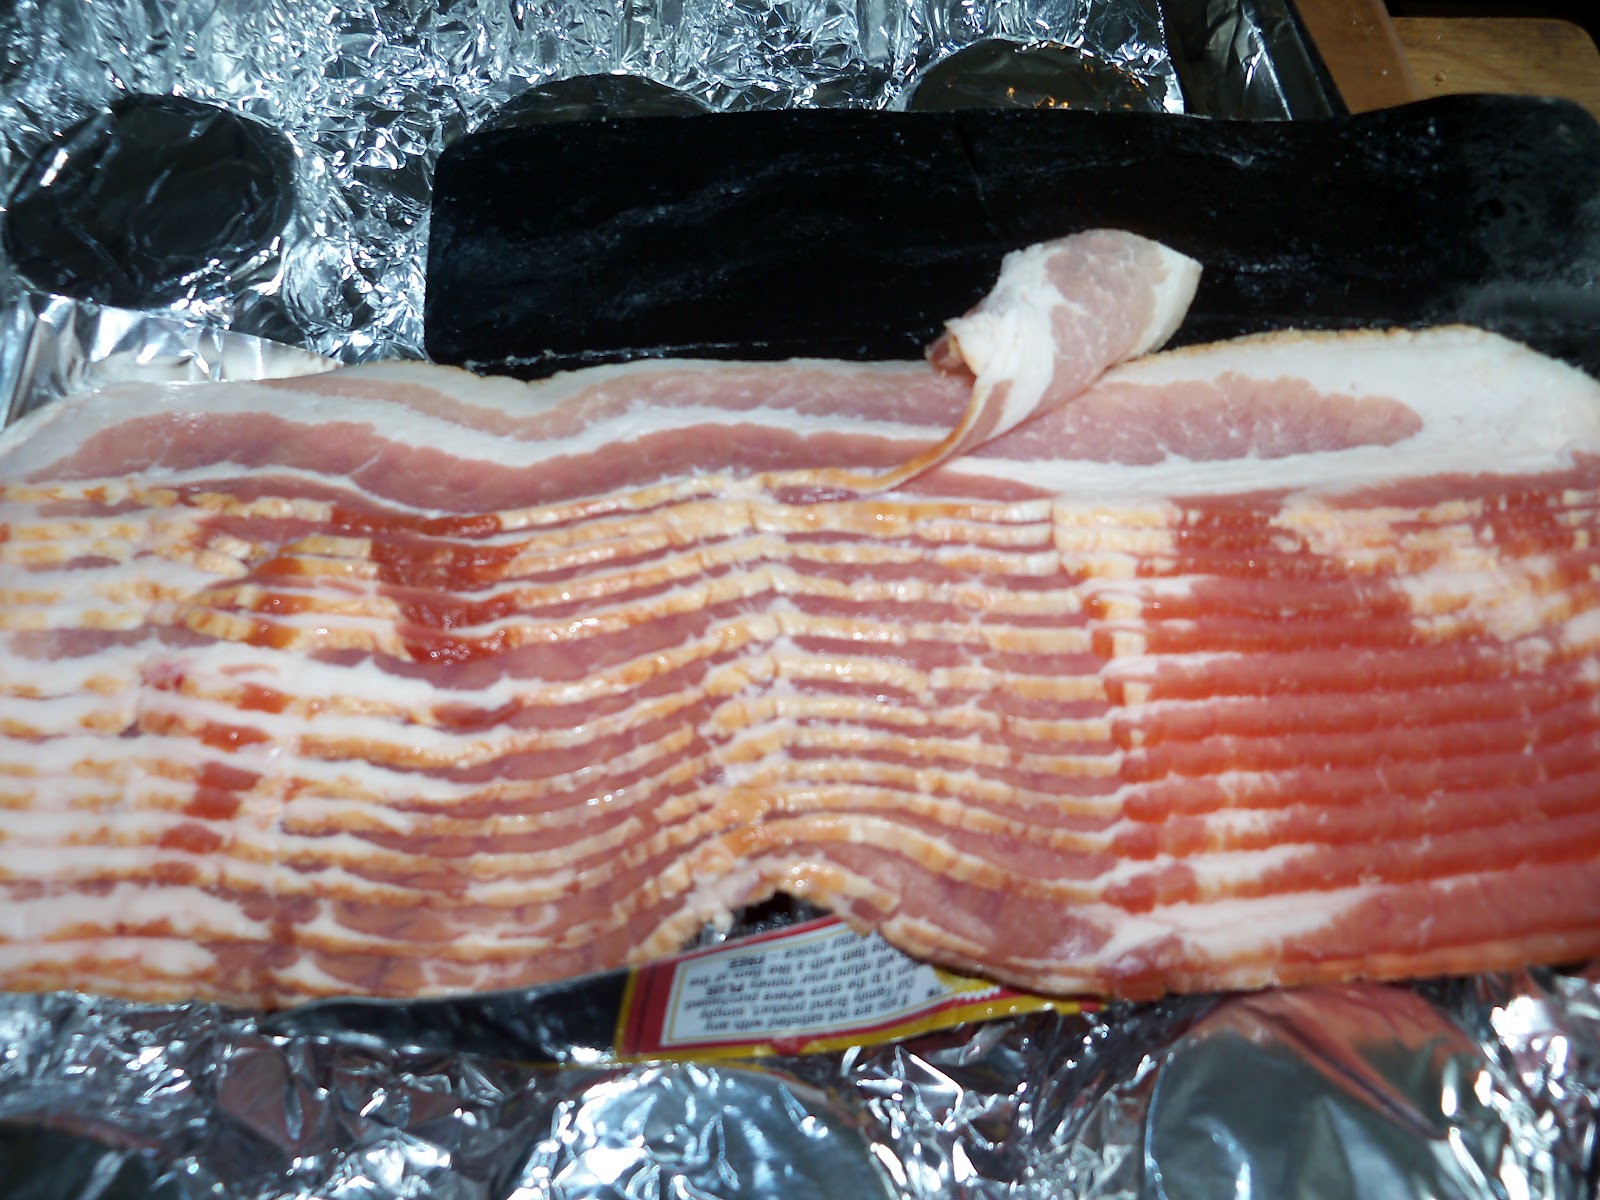
Now take some bacon. Make it thin sliced bacon. It works good for this application.


Have a pair of scissors ready, that works best for cutting up bacon for this application. It doesn't hurt to keep a special pair of kitchen scissors for snipping herbs and other applications.


Wrap a piece of bacon around the muffin cup, molding it to the cup as you go. Cut just enough to have an overlap. It should fit the form nicely.

Add a shorter piece over the bottom to make a good solid base. You can add an additonal piece if one doesn't do a good job of covering any gaps.


Scissors really do come in handy here.


If you allow your bacony hand to dangle, your cat will attempt to eat it.


A package of bacon gave me enough for 10 bacon bowls. Now put these on a sheetpan and into the 450 degree oven. Bake until brown and crisp. Took me about 15 minutes, but just keep an eye on them in case you get some smoking. 


Now slice up some smallish tomato wedges. If tomatoes are not in season, please to not use one of those pinkish hockey pucks from the grocery store. You can substitue grape tomatoes sliced in two. By the way, these tomatoes need to be room temperature. Never put a tomato in a refrigerator if you can help it. Here's a little something I like to do to tomatoes so they aren't watery in salads. Slice them, add salt and pepper, then put them in a container on top of some paper towels.


Now cover with a some paper towels and let sit for a couple of hours at room temperature.


When the bacon is good and brown and crispy. Perhaps not quite as crispy as some of it is here, take it out of the oven and let them cool for about half an hour.

Once cool, they are pretty easy to unmold, just lift the foil from the pan and push it in around the bacon. Mine came right off.


And now you have a beautiful bacon bowl!


Actually you have several

You could put all kinds of things in these crispy beauties. I'm using some nice romaine lettuce. It has been chopped, rinsed and dried completely, because we don't want these pretties to get soggy. That's why I'd advise against making them too far in advance. I'd be afraid they would soften in the fridge.


Now place the lettuce in the beautiful bowls of bacon goodness.


Then add a wedge of tomato, which should be fairly dry and decliciously seasoned from the salt and pepper.

I drizzled with an asiago peppercorn dressing. But any creamy dressing you like would work well. Even plain mayo - homemade mayo if you're just plain awesome. And you are, cause you make bacon bowls.


Monday, July 23, 2012

Chili Con Carne - quick, easy & versatile


One of my culinary pride & joys is my evolving recipe for chili con carne. This is the most up-to-date version. It's tasty and it all comes together in about 15 minutes. You can make this with any kind of meat that pleases you. I most often make it with ground chuck, but ground turkey or some steak works fine. I accidentally defrosted pork chops once, so I used them instead. You can make this with raw meat or with leftover beef, chicken, steak or pork. I've even pulled the meat off left over ribs. The only difference in the recipes is that if you're using raw steak or pork chops, I want you to brown them it your dutch oven first, then put in the spices. Otherwise let's do it this way:


We start off with my preferred spice mixture. I always use French's Chili-O & Ortega Taco mix. I just do. If you have a preferred brand of seasoning, use that. Or just use a blend of chili powder, cumin and garlic powder that floats your boat. This is how I do it.

Put some oil in your dutch oven and add the spices. Allow them to cook over a medium flame until you can really start to smell the seasoning. Then add a dollop of tomato paste and let them brown together for a few moments.


Now it's time to add approximately one pound of meat. If you are adding raw ground meat such as beef or turkey, put it in and add a good glug of beef or chicken broth. I know this may go against instinct, but without the liquid the ground meat will get hard and tough and we don't want that. Just cook the ground meat in the broth for about four or five minutes  If you are using cooked meat like leftover beef, turkey, chicken, pot roast, steak or ribs removed from the bones or some steak or pork that you've just browned, go ahead and put them in. Truthfully, you don't have to use meat at all if you'd prefer chili non carne.

For this batch I used leftover Shredded Taco Meat & meat leftover from the Magic Ribs.


Now for the tomato based components. I like to use a 16 ounce jar of salsa. Go with hot, medium or mild depending on your preferences. You could also use a can of tomatoes with chiles or a can of fire-roasted tomatoes with a few shakes of hot sauce. I like to use salsa because the tomatoes, onions and chiles are already in there. For this one I used leftover salsa, half a can of Mexican tomatoes and half a can of fire-roasted tomatoes. It's a great way to use up leftovers.


Now the beans. I was taught to make it with pintos, but over the years I have evolved to a mix of garanzos, black beans and dark red kidney beans. These are an especially important ingredient if this is chili non carne. I really like the meatiness garbonzos give to the mix. It's also very visually appealing to mix up the beans. If you are making a smaller batch or don't want so many beans, never fear. You can always freeze the leftovers.


Now just dump the beans and tomatoes in the pot and add a mixture of about half broth/half water until you get the kind of consistency you want for your chili.


Now, you're going to heat it all through while you stir


The longer you simmer, the better it tastes, but it tastes perfectly fine after just heating through.


Very yummy. Then I like to add cheese.

Followed by chips.

Followed by sour cream and hot sauce.

You add what you like. Excuse me, I need to go eat.